10 Powerful ChatGPT Image Editing Prompts: Transform Any Photo With AI
10 powerful AI image editing prompts to transform photos using simple natural-language instructions.
Want to edit photos using AI? Explore 10 powerful ChatGPT image editing prompts for removing backgrounds, erasing unwanted objects, expanding images, colourising photos, sharpening details, retouching portraits, and transforming pictures with simple instructions.
10 Powerful ChatGPT Image Editing Prompts: Transform Any Photo With AI
ChatGPT image editing makes it easier to modify existing photos without needing professional editing software or advanced design skills. From removing unwanted objects and changing backgrounds to improving image quality and expanding a photo beyond its original borders, AI can help you make creative edits using simple text instructions.
Instead of manually selecting objects, adjusting layers, masking areas, or working with complex tools, you can upload an image and describe what you want to change.
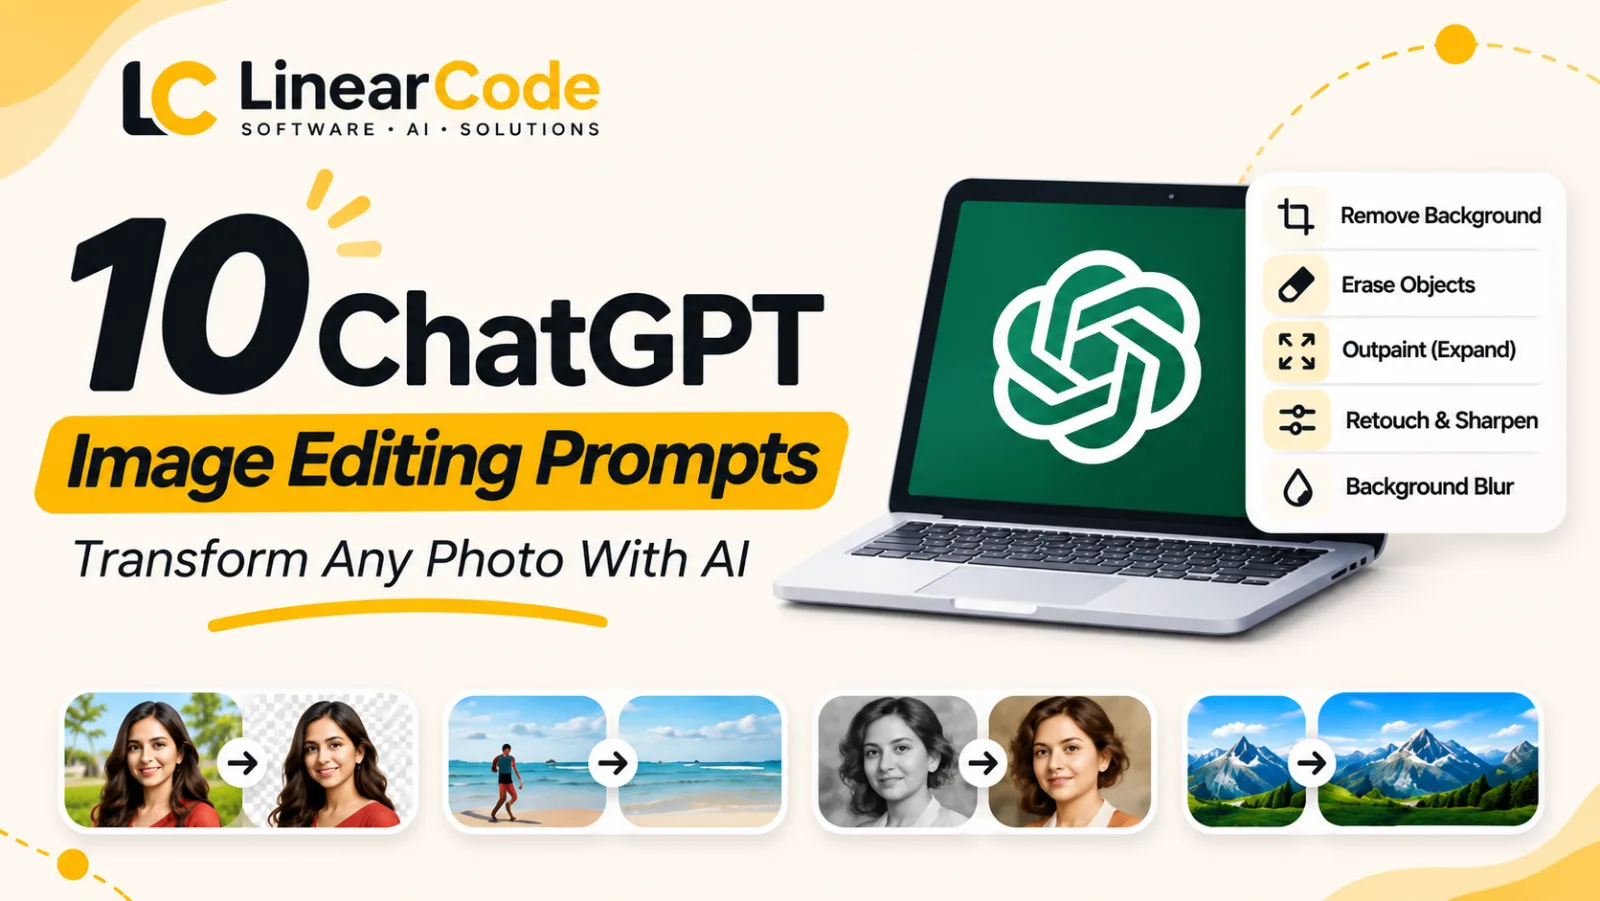
In this article, we're sharing 10 powerful ChatGPT image editing prompts inspired by the infographic—each with an explanation and a copy-ready example you can try.
1. /removebg – Remove the Background From an Image
Removing backgrounds is one of the most useful image-editing tasks, especially when you want to isolate a person, product, or object.
AI can help separate the subject from its surroundings and create a cleaner image that can be used in presentations, product listings, social media posts, or graphic designs.
You can also request a transparent background or replace the original background with something simple.
Try this prompt:
Remove the background from this image completely. Keep the main subject intact, preserve its natural edges, hair details, colours, and lighting. Make the background transparent and ensure the result looks clean and professional.
Useful for:
Product photography
Profile pictures
Marketing graphics
Online store images
Posters and presentations
2. /erase – Remove Unwanted Objects
Sometimes a photo is almost perfect, except for an unwanted object in the background.
It could be a distracting person, a vehicle, a sign, a trash bin, or something else that takes attention away from the main subject.
AI editing can help remove these elements and reconstruct the surrounding area.
Try this prompt:
Remove the unwanted object from the image, specifically the [describe object]. Reconstruct the background naturally so the removal is seamless. Preserve the original lighting, textures, perspective, and composition. Do not change any other part of the photo.
Useful for:
Cleaning up travel photos
Removing distractions
Improving product images
Fixing unwanted elements in photographs
Pro tip: Be specific about the object you want removed. If there are multiple objects, describe their locations, such as "remove the red bag on the left side."
3. /outpaint – Expand an Image Beyond Its Original Borders
Have a photo that is too tightly cropped?
Outpainting allows AI to extend the image beyond its original boundaries by generating additional content that matches the existing scene.
For example, you can expand a portrait to include more of the surrounding environment or extend a landscape to create space for text.
This can be especially useful when adapting images to different dimensions.
Try this prompt:
Expand this image to a wider 16:9 landscape format. Continue the existing background naturally beyond the original edges. Maintain the same lighting, colour palette, perspective, textures, and photographic style. Do not alter the original subject or its position.
Useful for:
Blog featured images
YouTube thumbnails
Website banners
Social media layouts
Creating space for headlines or text
4. /colorize – Add Colour to Black-and-White Photos
AI can help colourise old black-and-white photos and give them a more modern appearance.
This is particularly interesting for historical photographs, old family pictures, vintage portraits, and archival images.
The goal is to introduce natural-looking colours without changing the original photograph's composition or character.
Try this prompt:
Colourise this black-and-white photograph using realistic, historically appropriate colours. Preserve the original faces, expressions, clothing details, background, and composition. Use natural skin tones, balanced colours, and subtle lighting. Avoid oversaturation or artificial-looking colours.
Useful for:
Old family photographs
Historical images
Vintage portraits
Archival restoration
Creative photo projects
Remember that AI-generated colourisation is an interpretation. It cannot reliably determine the exact original colours of objects or clothing.
5. /reframe – Change the Composition or Aspect Ratio
Reframing is useful when you want to change how an image is composed without losing its main subject.
You might need a square image for a social media post, a vertical image for a Reel, or a landscape image for a blog banner.
Rather than simply cropping the image, you can ask AI to rearrange the composition while preserving the subject.
Try this prompt:
Reframe this image into a vertical 9:16 composition suitable for Instagram Reels or Stories. Keep the main subject clearly visible and centred within the frame. Adjust the surrounding composition naturally, maintain the original visual style, and avoid cropping important details.
Useful for:
Instagram Reels and Stories
YouTube Shorts
Website banners
Profile and cover images
Ad creatives
6. /sharpen – Improve Image Clarity and Details
Blurry or low-quality images can sometimes be improved using AI editing.
Sharpening may help make details more visible, improve clarity, and reduce the appearance of softness. It can be useful for photos that look slightly out of focus or have lost detail due to compression.
However, sharpening cannot reliably recover details that were never captured in the original image.
Try this prompt:
Improve the clarity and sharpness of this photograph. Enhance visible details, textures, and edges while preserving the subject's natural appearance. Reduce mild blur and noise where possible. Avoid excessive sharpening, artificial textures, or changing the original colours and composition.
Useful for:
Soft photographs
Compressed images
Product pictures
Older digital photos
Improving image presentation
7. /skinretouch – Natural Portrait Retouching
AI portrait retouching can help improve the appearance of a portrait while keeping it natural.
You can request subtle adjustments such as reducing temporary blemishes, smoothing uneven lighting, or improving overall portrait quality.
The key is to avoid over-editing. Excessive retouching can make skin look artificial or remove the natural character of the photograph.
Try this prompt:
Retouch this portrait subtly and naturally. Reduce temporary blemishes and minor skin imperfections while preserving natural skin texture, pores, facial features, expression, and identity. Improve the lighting slightly and keep the final image realistic. Do not over-smooth the skin or change the person's face.
Useful for:
Portrait photographs
Professional profile pictures
Personal photography
Headshots
Lifestyle images
8. /removeglare – Remove Reflections and Glare
Reflections can make photographs difficult to use.
For example, glasses may reflect a light source, a window may create unwanted glare, or a photograph of an object may contain distracting reflections.
AI can help reduce some of these visual distractions.
Try this prompt:
Reduce the unwanted glare and reflections in this image, especially on the glasses. Preserve the original eyes, facial features, skin texture, and lighting. Make the correction look natural without altering the person's identity or changing other elements in the photograph.
Useful for:
Portraits with glasses
Photographs taken through glass
Product photography
Indoor pictures
Images with harsh reflections
Results may vary depending on how much of the original detail is hidden by the reflection.
9. /objectswap – Replace an Object With Something Else
Object replacement allows you to change one item in an image while keeping the rest of the composition relatively consistent.
For example, you could replace a coffee cup with a glass of juice, change a handbag's colour or style, or replace an object on a desk.
This can be useful for creative experiments and visual concepts.
Try this prompt:
Replace the [original object] in this image with a [new object]. Position the replacement in the same location and maintain realistic proportions, perspective, lighting, shadows, and surrounding details. Keep the rest of the image unchanged.
Useful for:
Product mockups
Creative visualisation
Social media content
Interior design concepts
Experimenting with different objects
Pro tip: Clearly identify both the object you want replaced and the replacement. This reduces the chances of the AI changing unrelated elements.
10. /backgroundblur – Blur the Background for a Professional Look
Background blur helps bring attention to the main subject by reducing distractions behind it.
It is commonly used in portrait photography, product photography, and professional headshots.
You can ask AI to blur the background while keeping the subject sharp.
Try this prompt:
Blur the background of this photograph to create a natural professional depth-of-field effect. Keep the main subject sharp and detailed. Apply a smooth, realistic background blur while preserving natural edges, lighting, and the original composition. Do not blur the subject.
Useful for:
Portrait photography
Product images
Professional headshots
Profile pictures
Social media visuals
A subtle blur usually looks better than an extremely blurred background, especially when the subject has fine edges such as hair.
Quick Reference: 10 ChatGPT Image Editing Prompts
Prompt shortcut | What it does |
|---|---|
| Removes the image background |
| Removes unwanted objects |
| Expands the image beyond its borders |
| Adds colour to black-and-white photos |
| Changes composition or aspect ratio |
| Improves clarity and sharpness |
| Subtly retouches portraits |
| Reduces unwanted reflections |
| Replaces one object with another |
| Blurs the background |
Important: These shortcuts are prompt labels, not official built-in ChatGPT commands. Upload your image, then use the complete instruction following the label to request the edit.
How to Get Better Results With ChatGPT Image Editing
Using a prompt is only the starting point. The way you describe your edit can significantly influence the final result.
1. Edit Only What You Need
If you want to remove one object, explicitly tell ChatGPT not to change anything else.
For example:
"Remove the chair in the background. Keep the person, lighting, colours, and framing unchanged."
This helps reduce unwanted changes to the rest of your image.
2. Be Specific About the Location
Instead of saying "remove the object," identify it and where it appears.
Examples:
Remove the red bag on the left.
Replace the blue cup on the table.
Blur the buildings in the background.
Remove the reflection from the right lens of the glasses.
3. Describe the Desired Result
Don't only explain what you want removed. Explain what should replace it or what the final result should look like.
For example:
"Remove the person standing behind me and naturally reconstruct the wall and floor."
4. Make Changes Step by Step
If you're making several edits, try one change at a time.
First remove an unwanted object. Then adjust the lighting. Then reframe the image.
This makes it easier to identify which instruction caused an unexpected result and helps you maintain control of the final image.
5. Review the Final Image Carefully
AI image editing can occasionally introduce unexpected changes.
Before using your image, check:
Faces and facial features.
Fingers and hands.
Object edges.
Text and logos.
Shadows and reflections.
Background details.
Image cropping.
Always review the result before publishing or using it commercially.
Final Thoughts
AI image editing is becoming an accessible way to transform ordinary photographs into polished visuals.
Whether you want to remove backgrounds, clean up distractions, colourise old photographs, improve clarity, replace objects, or create a professional portrait, the right instruction can make the editing process much easier.
The best results usually come from being specific, making edits gradually, and describing exactly what you want to preserve.
Save these 10 prompts, try them with your own images, and experiment with different instructions to see what AI can do.
Want more AI prompts, useful tools, and practical technology tips? Follow LinearCode Technologies for more helpful guides.
Have questions about AI tools, automation, software development, or implementing AI in your business? Reach out to LinearCode at info@linearcode.in or visit LinearCode Technologies.
Comments
Loading comments…
Related Articles
10 Best ChatGPT Prompts for Editing Images: Copy and Use These AI Tricks

60 ChatGPT Image Prompt Styles to Create Better AI Images
Discover 60 reusable ChatGPT image prompt styles for creating cinematic, 3D, artistic, futuristic, technical, product, UI, and creative AI images.

20 ChatGPT Secret Codes to Create Amazing AI Image Styles
Discover 20 creative ChatGPT image prompts for miniature worlds, LEGO-style scenes, pixel art, cyberpunk cities, blueprints, and more. Copy these examples and customize them to create unique AI visuals.

25 Hidden ChatGPT Tricks Most People Don't Know About (Get Better Answers)
Want better answers from ChatGPT? Discover 25 practical ChatGPT tricks with ready-to-copy prompts. Learn how to improve writing, research, coding, file analysis, productivity, and everyday workflows.

10 ChatGPT Secret Codes to Get Better, Faster and Smarter Answers
Discover 10 useful ChatGPT prompt shortcuts to get clearer and more focused answers. Learn how to simplify complex topics, organise information, research, generate ideas, summarise content, and more with ready-to-copy prompts.